WordPress is a very popular open source blog publishing program that is installed on the user’s Web server.
Introduced in 2003, WordPress is written in PHP and uses a MySQL database. Noted for its rich features, WordPress “Themes” provide numerous templates from which to choose a suitable look and feel.
In addition, the site can be enhanced with dialogs such as user registration, user feedback and password protection. WordPress also enables non-blog content to be included, and it imports other blog publishing formats.

How to download WordPress?
Click on this link: WordPress download
It’s easy and free. Just read and follow the steps.
Now that you downloaded WordPress, let’s learn some of its features. Once you have learned some of the initial features and usages, you can learn the rest on your own by clicking on the help menu which is located on the right side at the top of the interface page.
Notes
In order to see clearly and be able to read all the following screen shots, kindly click on any screenshots which follows here and you will get a bigger view for a better reading.
How to use Word press?
After you log in with your user name and password, this is how part of the interface screen will look like:
Please take notes that if you are a beginner in using this system, make sure not to use any of the technical features on this system which only can be used by a professional user.
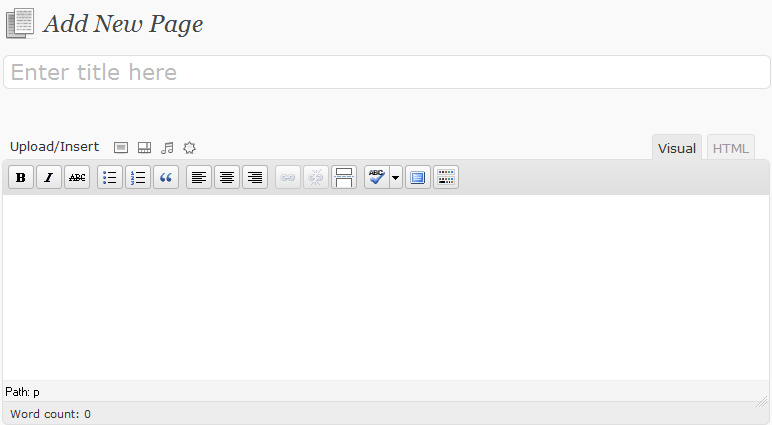
How to add a new page?
Click on Add New (to add new page)
The screen will show as above
Enter the title of the page you would like to add
Then start writing your text
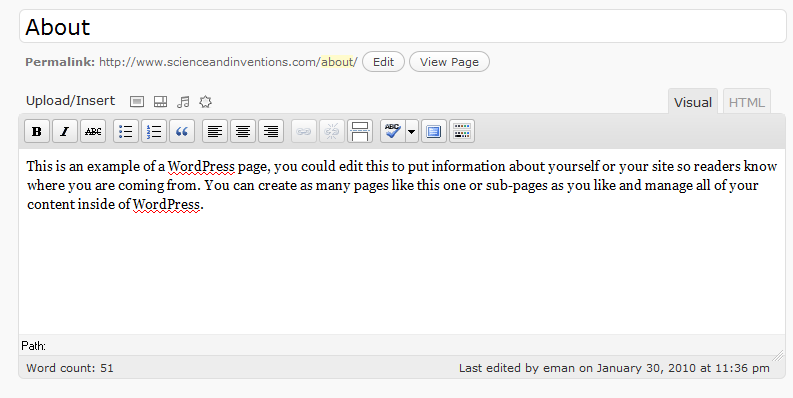
This is how the page appears after adding title and text.
Very important notes:
When you write the Title of the text, many users make a terrible mistake. Which is at any time the user wants to edit or change the title, they just replace it with new words or adding new words and that’s not the right way to do it.
If at any time you want to change or edit the title, make sure after you edit it in the title box, to click on Edit box which is shown on the screen shot above (it is placed right beside the Permalink) and make sure the title there to read exactly like the title on the title box above it. You can simply copy and past from the title box to the permalink. After you are done, click Ok. so the changes take effect.
When adding a new post or a page, please don’t copy and paste texts from other sources / sites/ links / pc programs directly on the word press. To do that the right way, you copy the texts directly to Notepad, then copy it from Notepad to the word press posts or page.
If you copy and past from any source directly on the Word Press, the texts will disappear due to different formatting conflicts.
Also, when inserting an image, please save the image on your pc, then you can insert it from your pc to be placed on your page or post on the word press.
If you insert the image directly from the internet, the same thing will happen, the image will disappear.
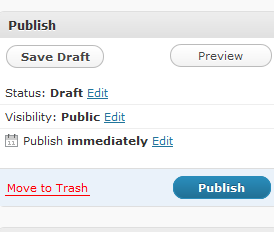
Save Draft, Preview and Publish
Save your page as a draft by clicking on Save Draft as shown above (located on the right side of the page).
Preview page to see how your page will look on the site.
Publish your page when you are done with your text and ready to publish.
You can at any time edit the page or the post you have already published
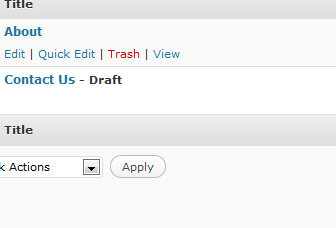
Edit, trash, view your page after publishing
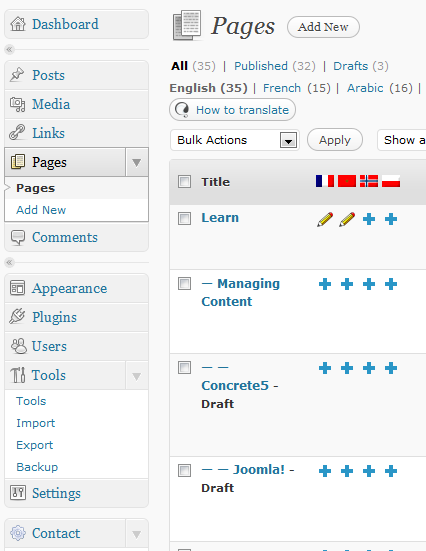
Click on pages
The screen will show all pages which have been added.
You can always edit, trash or view the content of your published pages as shown above under every page and you get these options once you put the cursor on a certain page.
How to add Sub pages?
See that screen shot where it shows Pages like; Blog>>, Services>> and Learn>>
It means that under each page there is a Sub page or pages.
For instance, if You work in tourism field and you create a page under the name of Services and you would like to add sub pages to that Services page, so when users click on services sub pages, it will show all the different services which your business is providing to your clients. Like for instance Hotel booking, Car rental, Airport pickup…etc, each sub page will be placed under Services>>.
Adding sub pages steps
Add a new page and give it a title learn (write any short text about learning content management for instance)
Click on pages
Click on Add New page
Write Content Management as title
Write a short text about Content Management
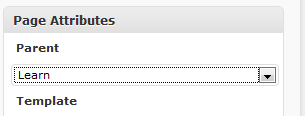
Click on Parent (located on the bottom right side of the screen)
Choose Learn in order to place your Content Management as a sub page under Learn which is the main page
Save draft or click on publish if you are ready to publish
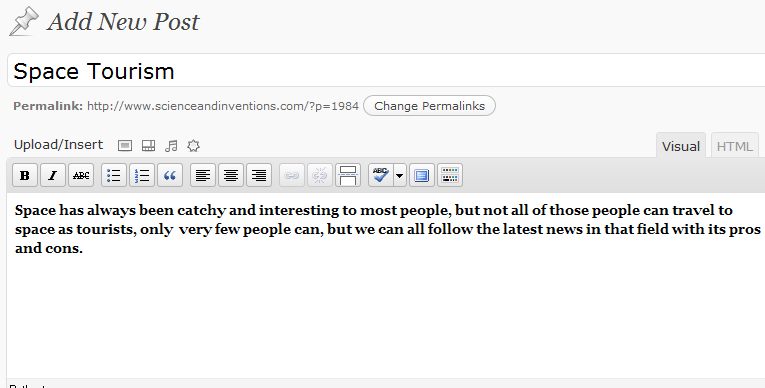
How to Add a New Post?
click on Add new post
Add title to your post
Add text
the post will look as above
How to add new Categories and new tags (post tags) to your post?
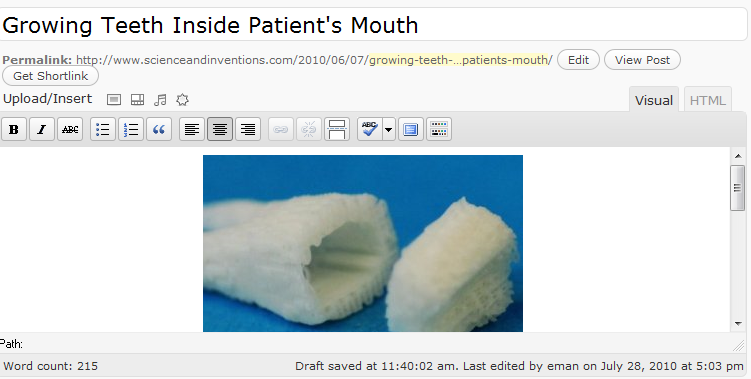
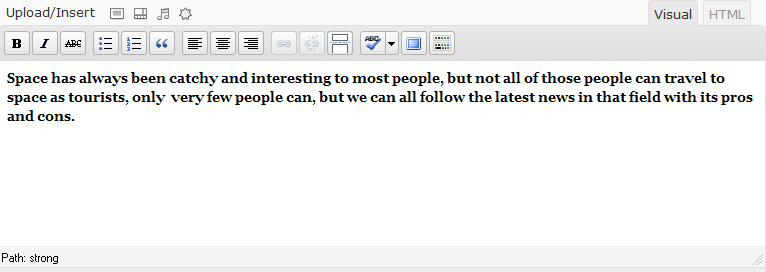
For instance, you had this post about growing teeth as shown on the title of the post
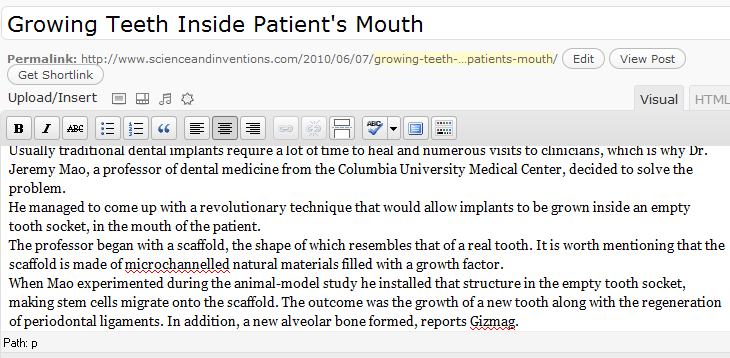
The text of that subject are as shown above
From the text content, the general idea about the subject is talking about an invention. So the category here should read inventions or inventions and inventors or Science dental inventions.
While tags of this post should read, teeth, dental, dentist, patient…etc
N.B. For every post you write, you must add categories and tags to it. So when users search for a certain subject on Google search engine, your site will appear on the search results.
It also helps people to find information on the site and also it organizes information on the site.
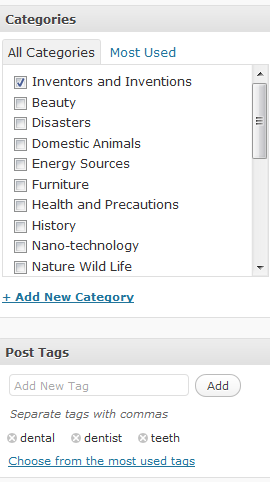
Steps to add new category and tags
Located middle of the page on the right side of the screen
If the category is previously stated (previous posts)
Then just select it from the previous categories list (you can always choose more than one category or add more than one category)
If the category is not mentioned on the list create a new category
Click on add new category
Write the category
Click on add new category
Steps to add tags
Write the tags, then click add after each tag you write
It will show as per the above screen shot
Important notes about categories and tags:
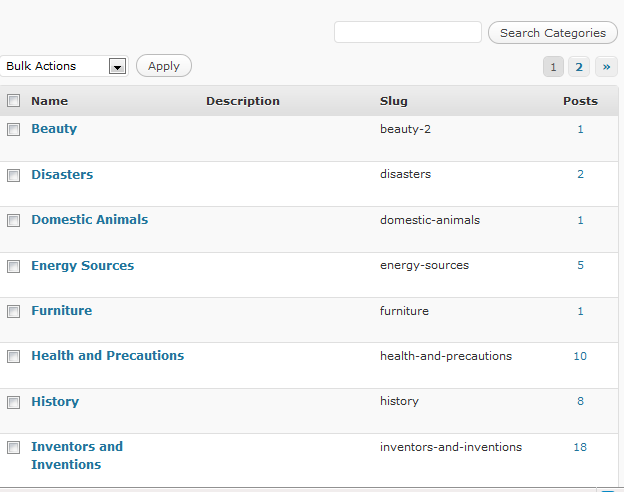
Whenever you delete a category or a tag on your post, you have to then go to the main interface pages as shown on the following screen shot to delete any 0 categories or 0 tags: (0 category or 0 tag means no content or posts for the tag or the category)
You must delete those 0 tags and categories, because when users are going to click on them, they won’t find any posts under those categories and tags.
On the left side of the screen, click on categories
The numbers shown for each categories, are the numbers of posts under each category.
If that number is 0, you delete the category. 0 category, means 0 posts. i.e. no posts under this category.
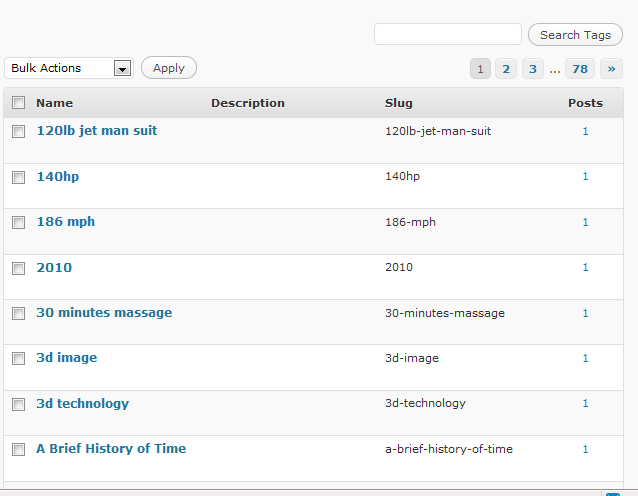
Do the same thing for 0 tags
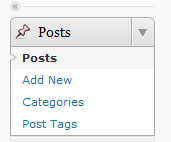
Click on posts tags
top left side on the screen
The numbers shown for each tag/posts tag, are the numbers of posts under each tag.
If that number is 0, you delete the tag. 0 tag, means 0 posts. i.e. no posts under this tag.
How to upload/Insert, Add an image into your post or page?
First, place the cursor where you want to place your image
See where it is mentioned Upload/Insert
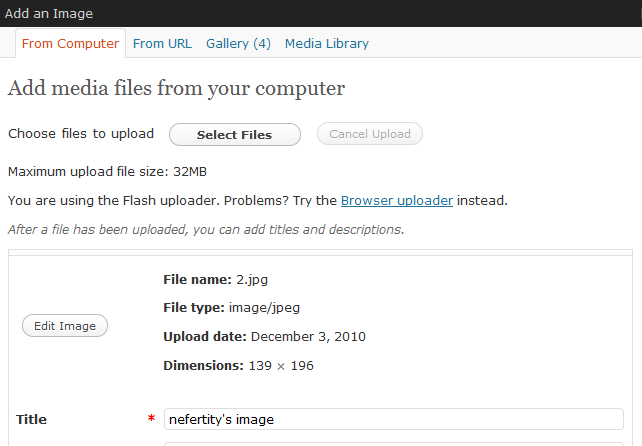
Place the cursor on the first Icon (will show you the icon’s name add an image)
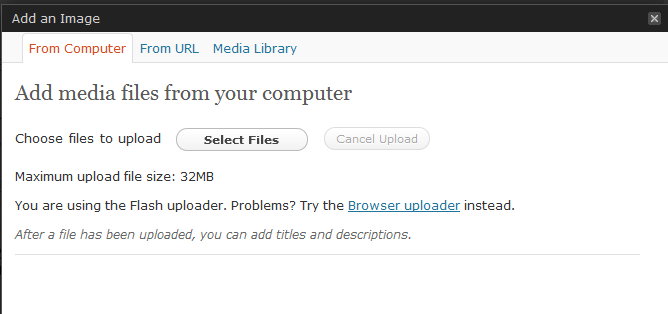
Click on add an image
Click on select files from computer
click on browse
Select your image
click on upload
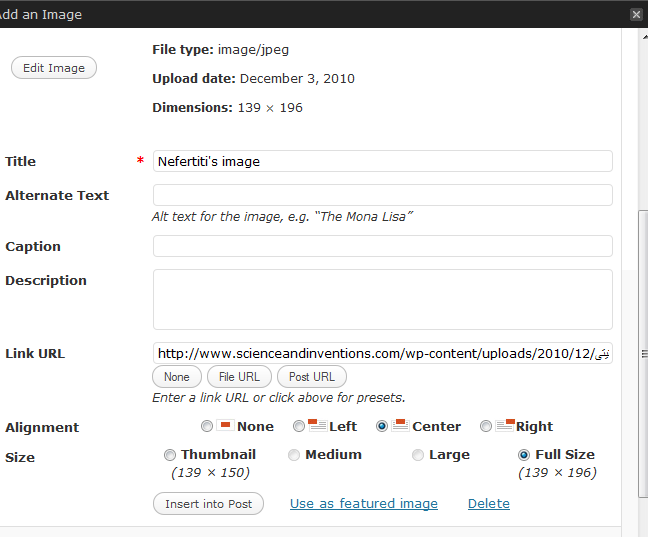
Write the image name in the title box
Click on Alignment to choose to place your image on the left, center, right of the page.
Then click on insert into post.
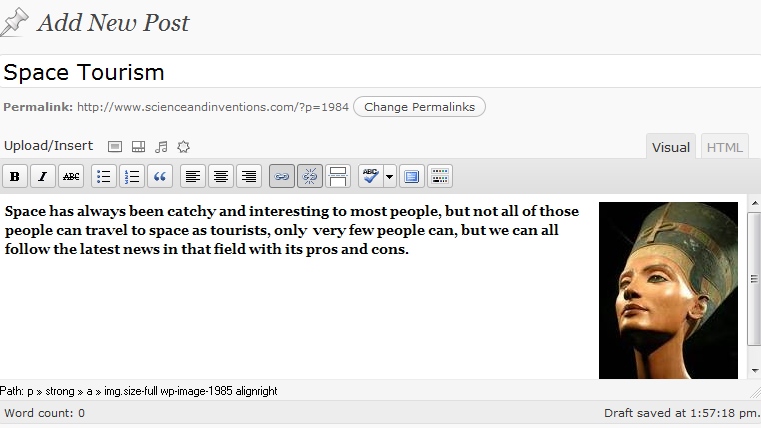
This is how the adding image will look like
Click on Save draft
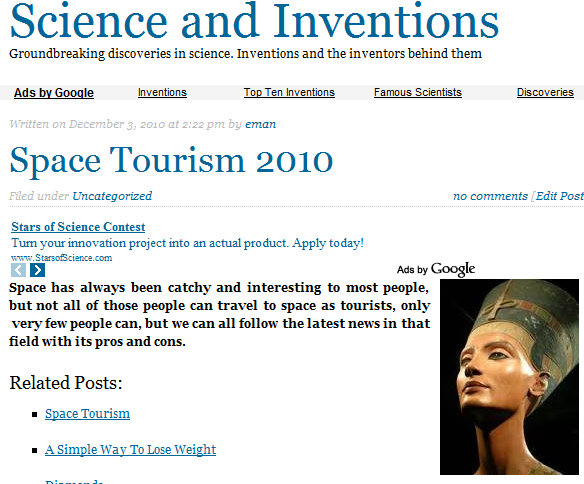
Then To preview your page click on Preview page on the top of the screen, to see how it will look like on the site.
How to delete, edit the size or the alignment of an already added image?
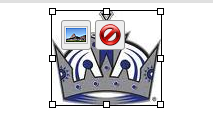
Click on the image
If you want to delete it click on the small red icon placed on the right
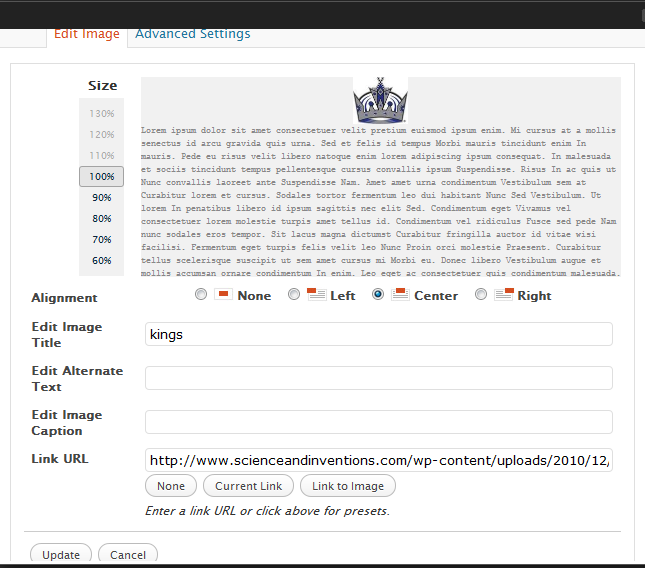
If you want to edit the image click on the small picture icon placed on the left
You can adjust the size of the image as it shows above from 60% to 130%
Change the alignment by clicking on non, left, right or center…etc
You can edit the title of the image
After you make you all the modifications you want, make sure to click on update, so you will get all the changes saved and taken place as you have chosen them.
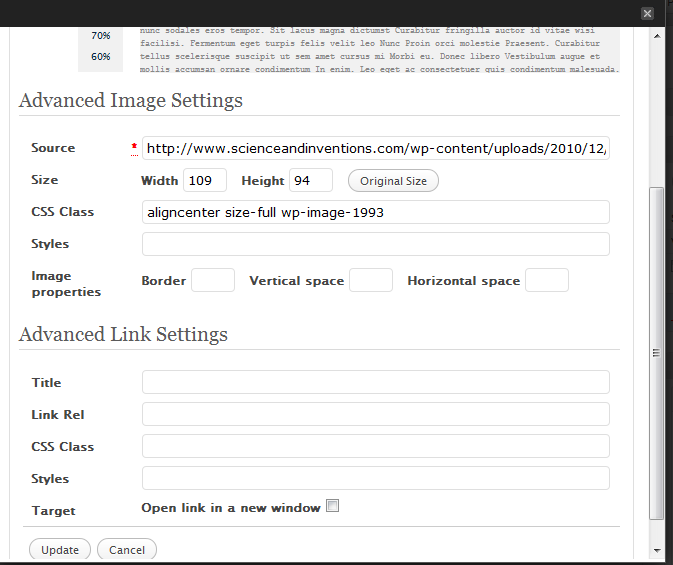
What is advanced settings usages which is shown on above screen shot?
Click on advanced settings as shown above
You can control and adjust the original size of the image by changing the width or the height size
Click on the size of width or height and change the size
Make sure to click on update so your changes take effect
How to add video on your post or page?
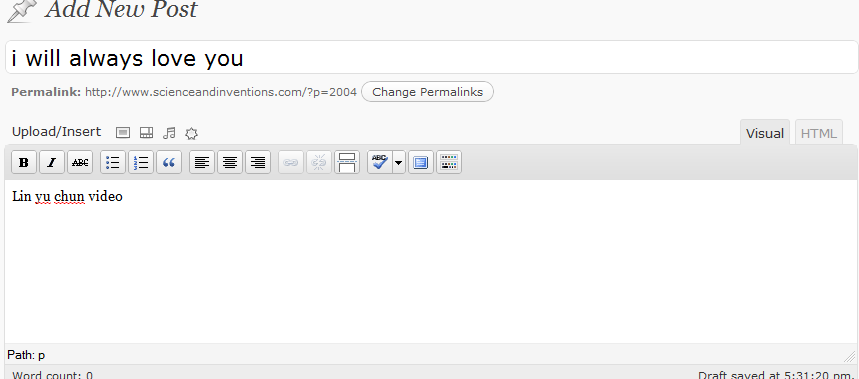
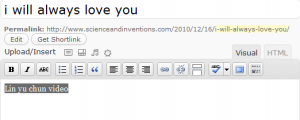
Write the name of your video in the text box
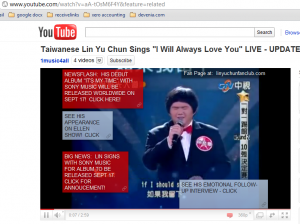
For instance, go to youtube
Chose the video you want to place on your post
Copy the URL
Select the name of your video Lin yu chun video as shown above
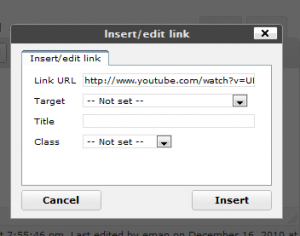
Click on insert/edit link
Paste the URL link of the video you copied on youtube
Press insert
Save Draft
Press Preview page
Click on the following video
This is how it will show and function on your page or post.
Very important notes
Be aware that you violate others rights when you copy and paste any content (texts, images, videos…etc) from the internet directly to your site. In order to do that right, you either ask first for permission to copy and paste on your site or you link to the content of other sites and you state that the content is copied from (link to the site).
How to add multilingual Plugin?
Click on plugins (left side on the screen)
Click on add new plugins
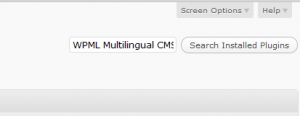
Type WPML Multilingual CMS ( in the search box like the screen shot shows)
Click on search plugins
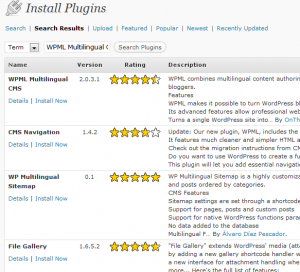
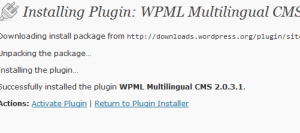
Click on install now Wpml Multilingual CMS
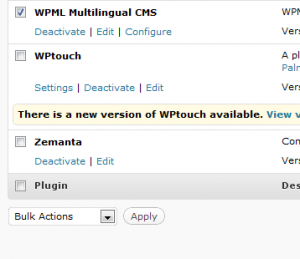
Click on activate plugin
Click on apply
You can always deactivate or activate any plugin by clicking on activate or deactivate.
You can always add new plugins by following same steps as above mentioned
Revisions on Word Press
One of the advantages of WordPress Content Management is that if you have ever lost any content of a text which you published for one reason or another, you can always get it back.
Here I’m giving you the way to that through some screenshots as guidance
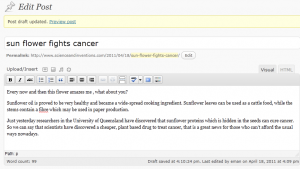
The following screen shot showing a new post that i’ve been working on
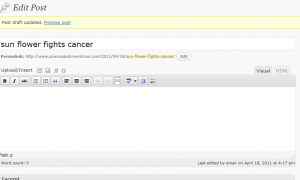
Then when preview the post on the main page, you all of a sudden don’t find any content except the title like the following
Go down on the post page as it shown on the following screen shot
You will find all revisions stated down there and provided with date and time.
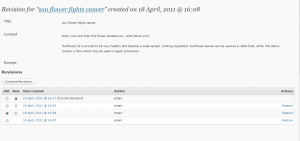
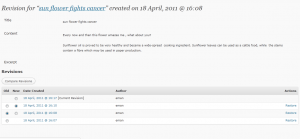
Click on the one that is previous to the last one which contain the whole content as the following screen shot will appear
According to this screen shot, the current revision is the one with no content, click on the one that is under the {current revision} where it is mentioned new, then click restore and the screen will show as follows
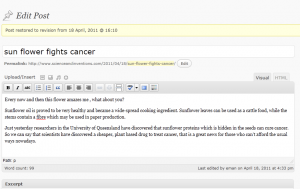
You will see the screen which will appear as follows and see on the top where it is mentioned Post restored to revision from 18 April, 2011 @ 16:10 your content is all there.
Everything that you do on the word press is saved under revisions after every editing or saving whether you are writing a draft or publishing a post. Of course you can check all the revisions there is you are not sure which one you want to restore back.
There is more about word press to learn and to discover, if you have any questions or you are facing any difficulty in using word press in all or any aspects, please do not hesitate to contact us and we will reply to you as soon as possible.


